Bring Creativity to Your Entryway. The entrance of your house is the first impression people have. It establishes the mood before anyone even enters. If you want to know how to paint door mats then you must know that a doormat is not just for wiping your shoes; it offers style and a unique touch to the space. A painted doormat will bring colour and charm to your doorway.
Advantages of Paint Door Mats
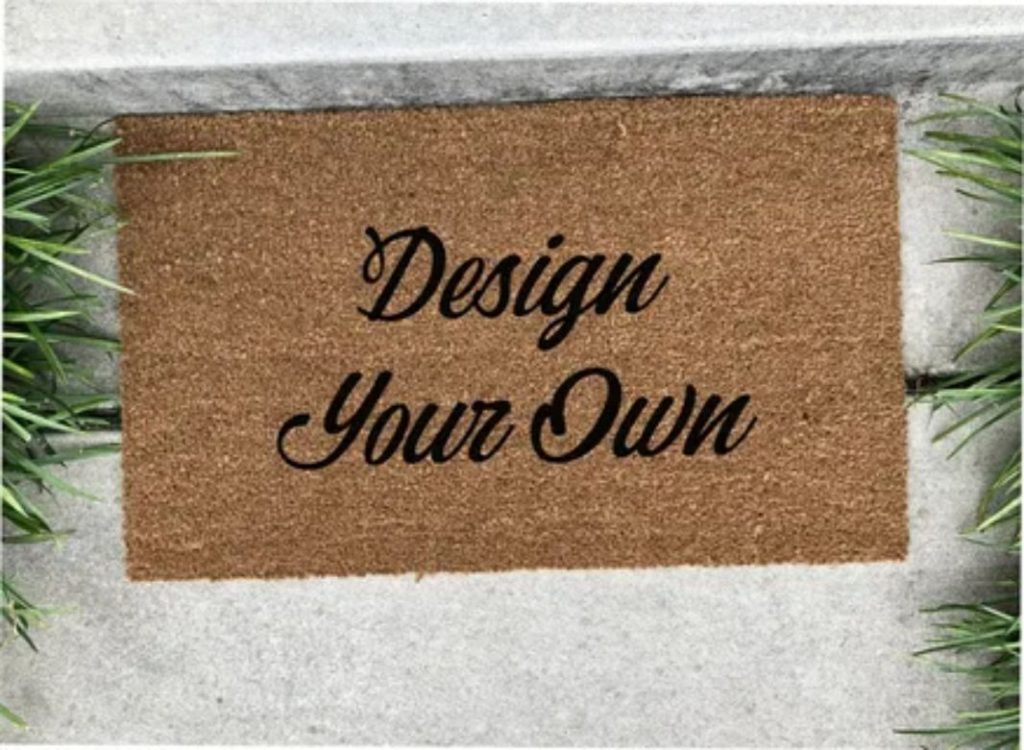
DIY Paint Door Mats are fun to make, low on budget, and completely unique. You can put a word on it, a design, or even a goofy saying. What makes it great is the freedom of choice. You don’t have to buy a standard mat when you can create a custom design instead. This guide will walk you through step by step. Don’t worry if you’re not an art pro. Painting a doormat is a simple and stylish way to welcome guests to your home.
- Customization
Pick a unique design and colour. It reflects your personality.
- Affordability
An affordable way to create something special and meaningful.
- Style
You have a unique piece that coordinates with your home.
Step-by-Step Guide to Paint Door Mats
- Gather Your Supplies
Every good project starts with the right tools. Here’s what you’ll need:
- Plain coir doormat
Coir mats are woven from coconut fibres. They’re strong, rough, and hold paint well.
- Outdoor and acrylic paint. Always choose outdoor paint. Indoor paint fades quickly in the sun or rain. Acrylic outdoor paint works best.
- Paint brushes or sponge brushes
A firm brush or sponge works. Soft bristles don’t get on well with the coarse coir surface.
- Painter’s tape
Allows you to make crisp lines and protects the paint from what you don’t want.
- Stencils
Good if you want clean letters or a pattern repeated often.
Painter’s tape helps you create sharp, clean edges and prevents paint from spreading where you don’t want it.
Stencils are useful for making neat lettering or repeating a design consistently.
- Gloves and old clothes
Paint is messy. Keep your hands and clothes safe.
Tip: Some individuals also employ spray paint. It is quick but difficult to manage. If you are a novice, begin with a brush.
- Select Your Design
This is where the fun comes in. Your design can be as simple or as graphic as you desire.
- Freehand designs
Excellent if you like to draw. You can draw with chalk beforehand and paint afterwards.
- Stencil designs
Best for newbies. Tape the stencil in place and paint inside it. This produces crisp shapes and legible letters.
Some popular design ideas:
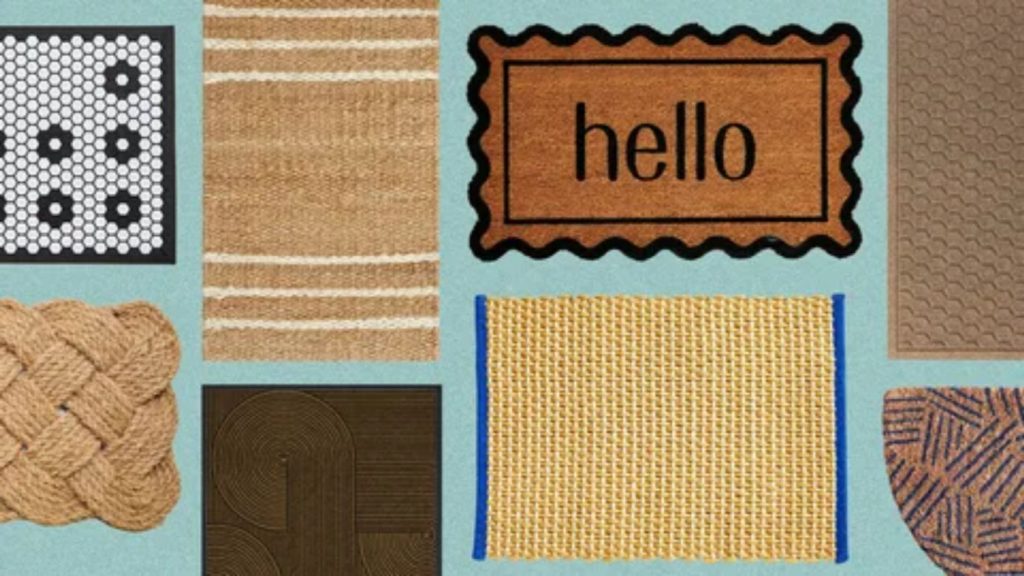
- Geometric designs
Lines, triangles, squares. Simple and trendy.
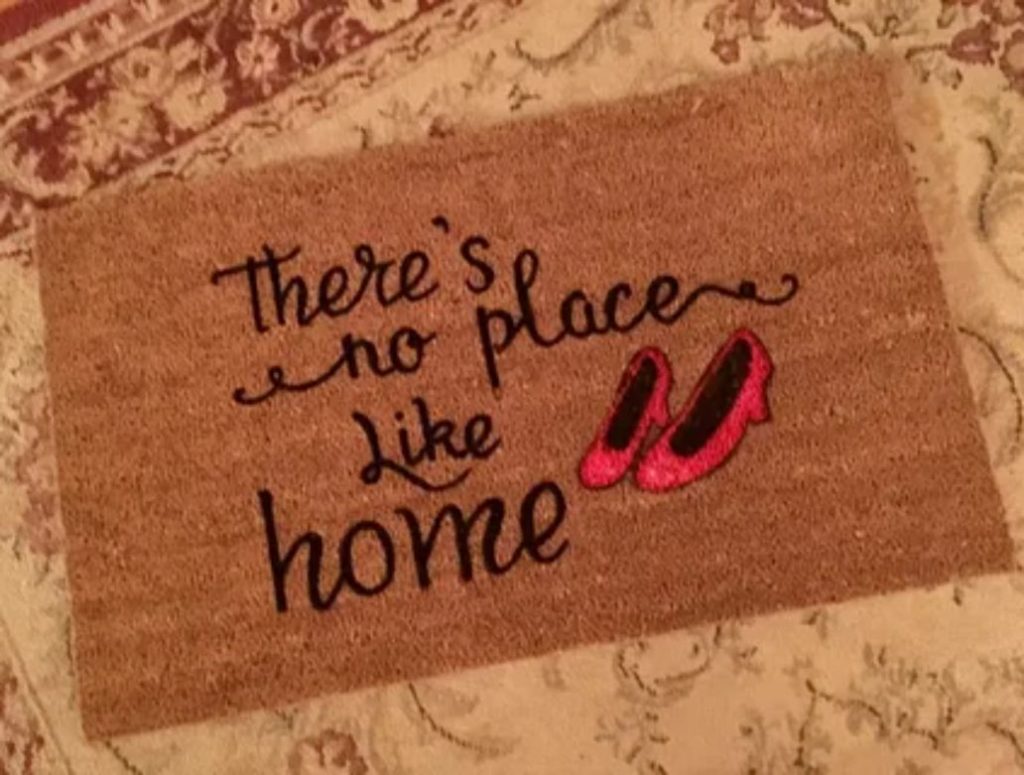
- Words and quotes
Short welcoming text like hello, Home Sweet Home, or something witty.
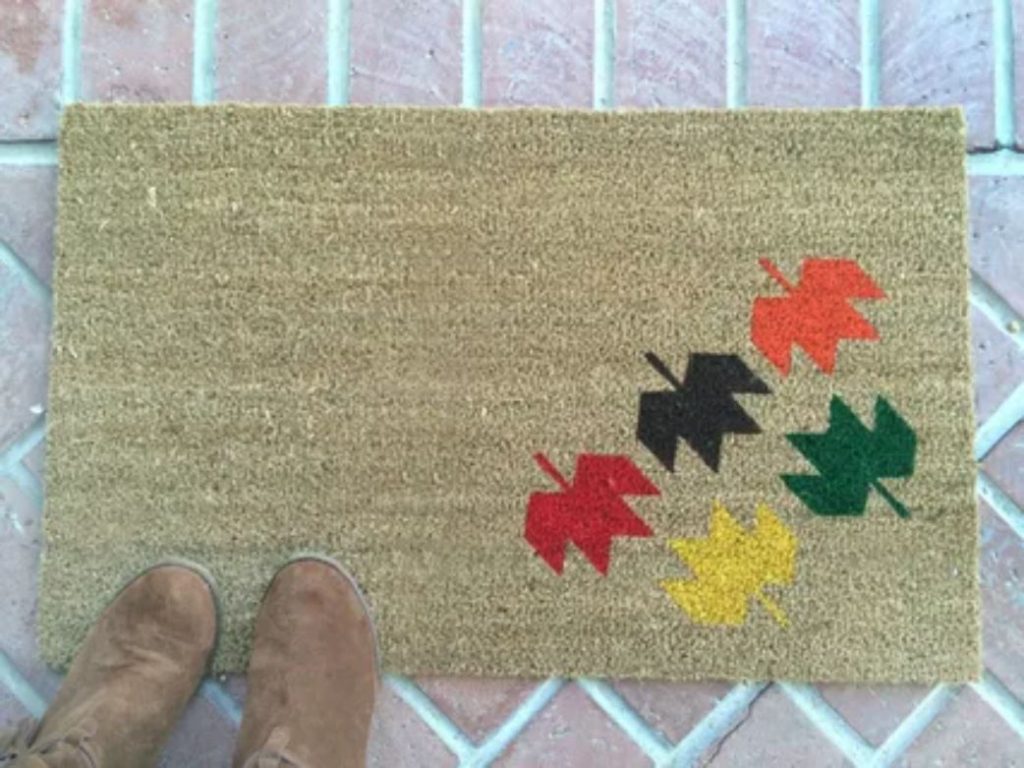
- Seasonal designs
Decorate according to the season, such as pumpkins for autumn, snowflakes for winter, and flowers for spring.
- Personalized designs
Your family name or initials.
Remember that coir mats are abrasive. Small details will not photograph well. Large shapes and strong lettering photograph best.
- Prepare the Door Mat
Good preparation helps the paint go on smoothly and the end result be cleaner.
- Clean the mat – Shake it outdoors to get rid of dust. Alternatively, you can use a vacuum.
- Dry the mat – If it’s damp, allow it to dry completely. Wetted fibres don’t accept paint well.
- Protect your workspace – Lay newspaper or cardboard beneath the mat. Paint can seep through.
- Mask edges – Use painter’s tape if you desire a crisp edge.
- Set up stencils – Tape down stencils so they won’t shift during painting.
It will save you 10 minutes of trouble later with sloppy edges and smudges.
- Apply the Base Layer
You don’t need to paint a background colour, but it does help make your design stand out.
A black background makes bright colours really pop.
A white background provides a clean and fresh appearance.
Bright, bold colours such as red or navy can provide additional personality.
How to use:
- Use a big sponge brush.
- Pat paint into fibers rather than brushing horizontally.
- Cover the entire mat evenly.
Let the base coat dry thoroughly before you begin your design. If you hurry, the top colours can mix or smear.
- Paint Your Design
Now for the fun part—painting!
If stencilling:
- Hold the stencil in place with tape so it won’t move.
- Put paint on with a brush or sponge.
- Gently dab paint up and down. Don’t brush sideways.
- Apply a small amount of paint at a time to protect bleeding under the stencil.
If painting freehand:
- Chalk out your design beforehand.
- Complete it with a little brush.
- Take your time. Slow and steady wins the race.
- For bold colours, use more than one coat. Allow one coat to dry before applying another. Two or three coats get the colours to pop and last longer.
Let It Dry Properly
- Letting the paint dry properly is just as important as painting. If you touch the mat too early, all your work can smudge.
- Leave the mat in a dry, sun-drenched spot.
- Don’t walk on it or move it.
- Outdoor paint will dry in 24 hours.
- Be patient. A little patience creates a tidy, long-lasting mat.
Seal for Durability
- Your doormat will be outside in sunlight, rain, and grime. Add a clear sealant over the paint to keep it looking good.
- Use a clear outdoor spray sealant. You can locate it in most craft or hardware stores.
- Keep the can 6–8 inches away from the mat.
- Spray lightly, covering the whole surface.
- Apply 2–3 coats, and allow them to dry completely.
- The sealant safeguards against fading, water damage, and wear. Your mat will last longer if you take this step.
Tips for success
The following are additional tips that will make your project excellent:
- Test colours first – Test a small spot to get an idea of how the colour will look on the coir.
- Use outdoor paint only – Regular paint will fade and wash away easily.
- Make it bold and simple. Small- intricate designs won’t be clear.
- Use tape sparingly – Tape sharpens lines and prevents smudges.
- Work slowly. Hurrying leads to error.
- Be patient with drying – Don’t walk across the mat until it is completely dry.
- Seal your work – A spray sealant will make your mat look new for longer.
Conclusion – Make a Lasting First Impression
Painting your own doormat is a small project with a big impact. It’s easy, enjoyable, and inexpensive. And best of all, it allows you to greet guests in your own special way.
Let’s summarise the steps:
- 1. Get your supplies.
- 2. Select a design.
- 3. Ready for the mat.
- 4. Paint a base coat if desired.
- 5. Paint your design carefully.
- 6. Allow it to dry completely.
- 7. Seal it for protection.
When you’re finished, stand your mat proudly at your front door. Your guests will appreciate the effort of Paint Door Mats, and you’ll grin every time you come in.
Why purchase a plain mat when you can create one that displays your personality? Give painting one a try today and have a fun, chic entryway that makes an unforgettable first impression.